WordPress Tutorial
Welcome to the WordPress setup tutorial. This tutorial will guide you through the steps to integrate AuthSezam with WordPress.
I - Technical Prerequisites
To set up OIDC on a WordPress site, you need:
- A functional WordPress server running on https
- Basic knowledge of WordPress
- Access to the following variables:
$clientId: OIDC client ID*$clientSecret: OIDC client secret*$authorizationEndpoint: OIDC authorization endpoint*$tokenEndpoint: OIDC token endpoint*
- A user registered on AuthSezam
*Provided by us in a separate document
II - Installing the Components
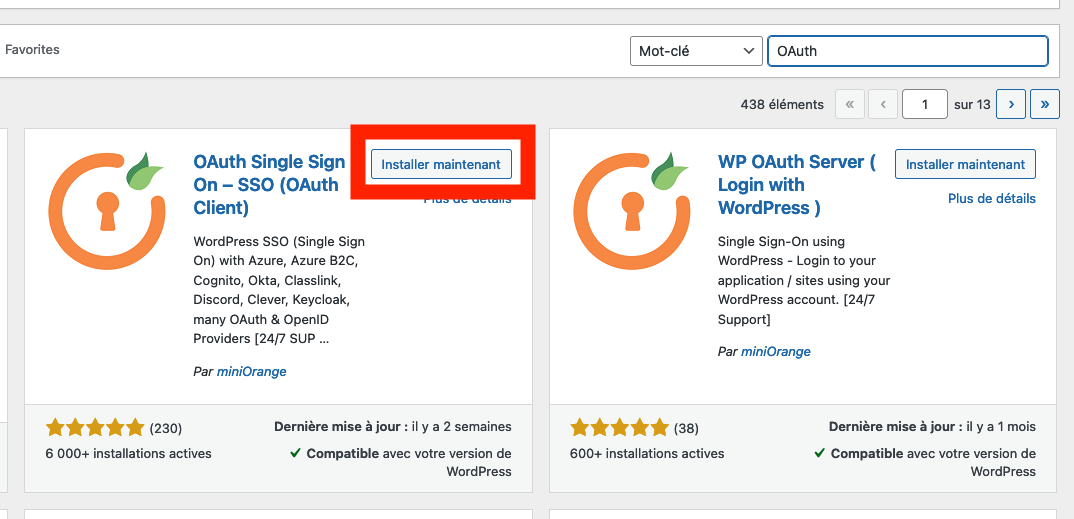
- Install and activate the miniorange plugin on your WordPress, you can find it by searching for "OAuth".
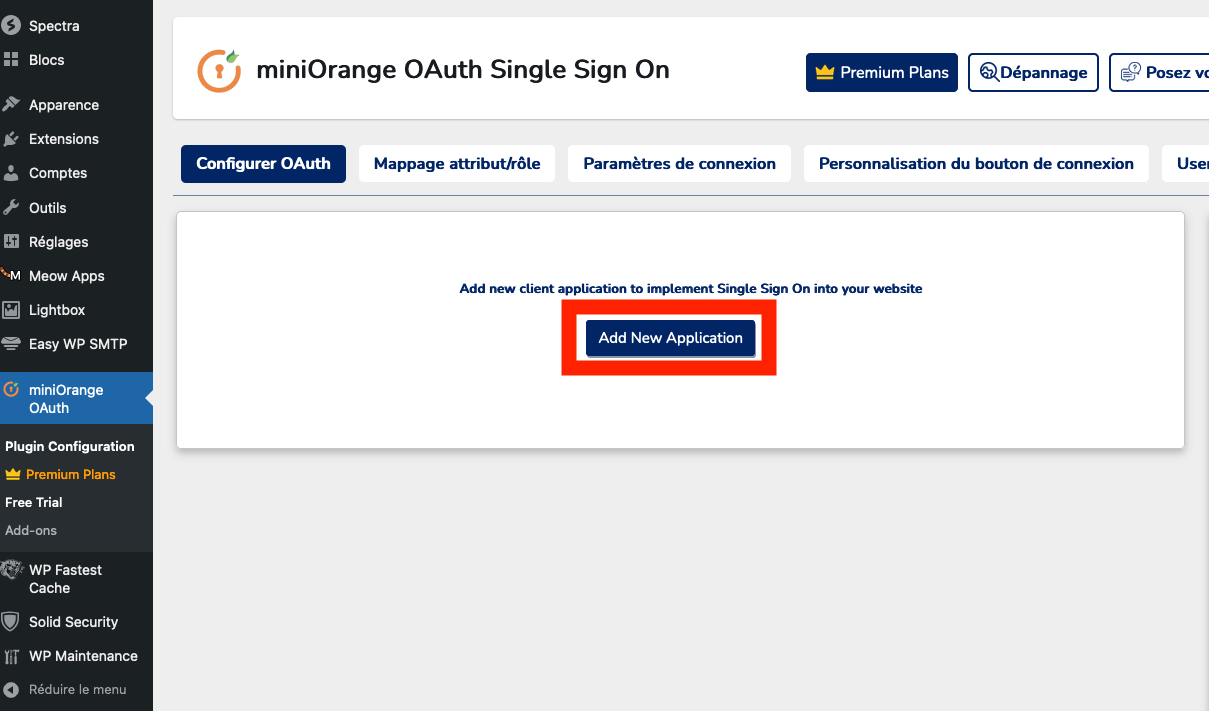
- Add an application
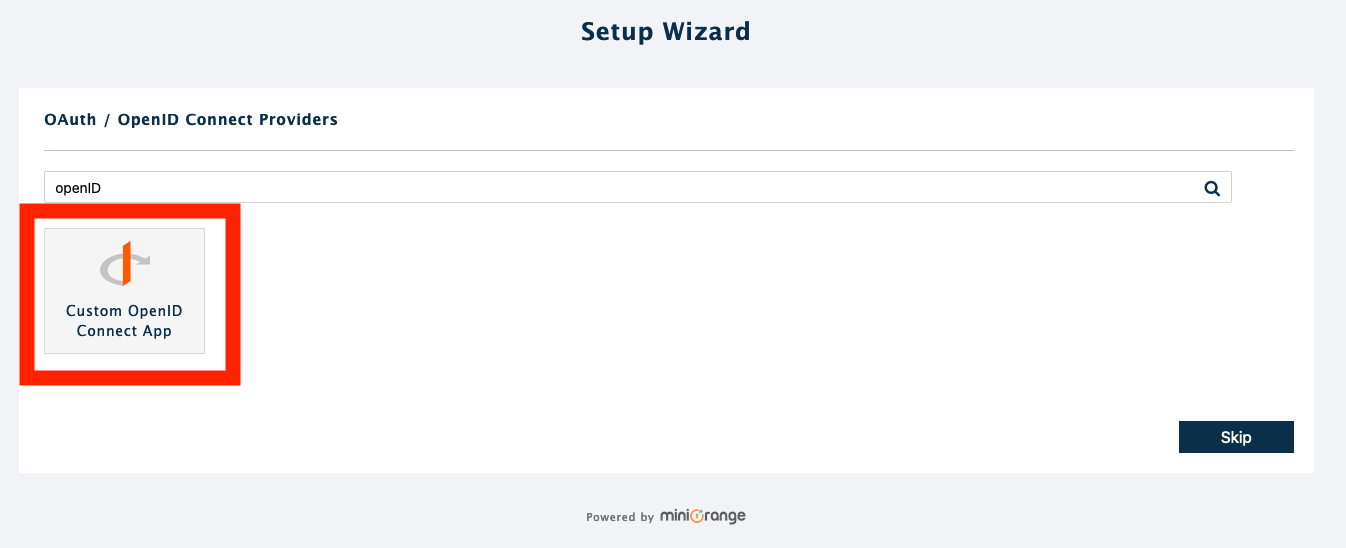
- Search for and select openId
III - Configuring the Components
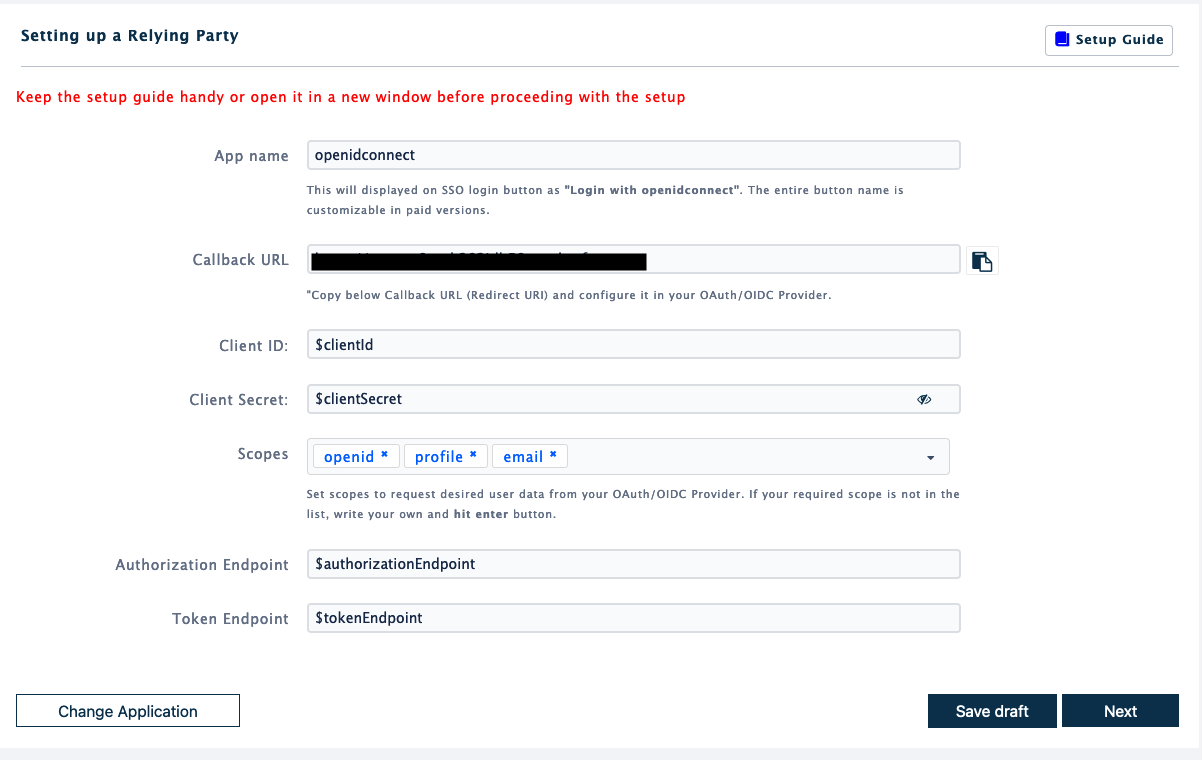
- Fill in the information
- App name: The name displayed during login
- Callback URL: Your domain name, previously filled you will need to provide us with this URL
- Fill in the various fields with the provided prerequisites
- Then click on next
- Verify the information and click on finish
IV - Testing and Validation
- The test launches in a pop-up, make sure to allow pop-ups in your browser
- Try to log in, if the test is successful, all your information will be displayed
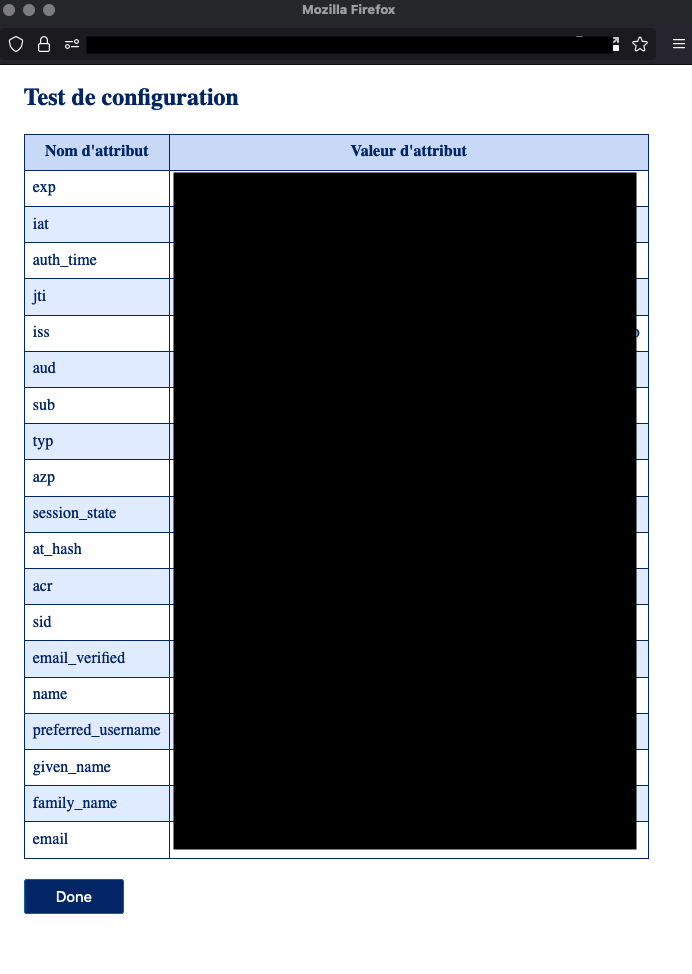
- Once the test is validated, click "done" on the pop-up and then "finish" in your browser
- You can now log in using AuthSezam on WordPress